

Experimenting in the Kitchen: Sourdough Edition
So this post has been a long time in the making because let’s face it, sourdough takes forever (or a week and a half) to make. Why does it take so long you ask? Because you have to have a starter and wait for some very slow wild yeast to come and develop that sourness. Continue reading to follow all the wacky adventures with my starters and baking the actual bread or go with the short version (just the recipe) here.
Starting with the Starters
After visiting Boudin in San Francisco for the first time way back in 2006, I became a little bit obsessed with recreating that delicious little piece of my favorite city back home in Boston and made sourdough like whoa. I had moderate success in making sourdough mostly because I picked up one of the dried starter kits when I was in SF. Since I haven’t been to California in about a year, I was fresh out of sourdough kits and had to figure out how to make my own homemade starter.

This is a photo that I posted to Facebook in 2007 with a caption that says "Best Bread Ever!" so yes I am obsessed
In my research I found that most starters are some sort of mixture of flour, water and sometimes special extras that are combined together and left to sit for a few days to attract wild yeast. The mixture is periodically “fed” and process that discards part of the mixture and adds more of the original ingredients so that the yeast can continue to prosper and make the starter more and more sour.
I did find a number of variations on this basic concept and for the sake of experimentation, I decided to take on three different starter recipes. The one I found most successful will be announces at the end of this post and the process for creating it is in the recipe.
- Rye Starter – Mixed grain and whole meal flour is apparently supposed to be very good at catching yeast because it harbors more micro-organisms than white flour. I tried a recipe from the Chef Rachida website that used rye flour.
- Fruit and Yogurt Starter – starters that boosted the power of the grainy flour by using some sort of extra ingredient, like fruit, yogurt, honey, sugar, etc., were also quite popular. I experimented with this recipe from FoodAnd.co.uk that used rhubarb and yogurt, mainly because I wanted an excuse to buy rhubarb and I had some leftover plain yogurt, which I was sure had some lovely yeast-attracting micro-organisms.
- Yeast Starter – Finally, as a control, I decided to make a starter using commercially available yeast and all-purpose flour. This starter obviously had enough yeast, so it was all about getting the proper sourness and testing the hardiness of the wild yeast and the store-bought yeast. This recipe took the basics of the Rye recipe, but substituted AP flour and added yeast.
The Week That I Have Yeast Living On My Bookshelf
I started my starter experiment on a Monday evening and diligently kept my yeasty friends warm, safe and fed for the week of souring that the recipes suggested was the minimum time needed have a young, but sour enough starter. I left them in my living room on a shelf so that I could monitor them as I sat and worked or relaxed or whatever I spend my time doing. During this time, I observed that the yeast starter was the most active, as it inflated and deflated quickly and dramatically after a feeding. The rye starter was the thickest, but smelled sour more quickly than its kin. The fruit and yogurt one didn’t do much at first, but after a few days it smelled appropriately sour and bubbled and grew slowly but steadily after it was fed.

My starter trio. Rye on the bottom left. Fruit & Yogurt on the bottom right. Yeast on the top.
The starters were ready a little bit more than a week after I started them, but because of poor planning, I was packing up and heading to Boston to visit my family for an undetermined period of time. So I ended up packing them up with the rest of my stuff and driving them to Boston with me. I have a blog post about that adventure if you are interested.
Adventures in Sourdough Sponges
Once you have a sourdough starter, you would think it would be pretty straightforward and quick to make the bread. Nope wrong. You need at least 12 hours to grow a sponge (a gloopy version of the dough) and then after adding more flour and developing the gluten, another few hours to let the bread dough rise a couple of additional times. Time consuming, very time consuming, indeed.
At this point I turned to the Joy of Cooking (my mom's 1979 edition) for my recipe. It was the most straightforward and reasonable one I found. I changed it slightly because I didn’t feel like it let the dough rise enough and my adaptation can be found in this post’s recipe here.
I set about making my three sponges and had some thoughts as I combine the starters with flour, sugar, water, and salt. The yeast starter smelled the best (like actual yeast) and made the smoothest and least gloopy sponge. The fruit and yogurt starter was pretty smooth and was very liquidy, making that sponge the easiest to make. The rye starter was a little bit gross because it was kind of chunky and very, very sour.
I let my sponges grow for about 24 hours, but they probably only need 12-ish hours/ overnight. 24 hours just worked with my schedule. At this point they had all grown and were crusty, sponge-y messes. Using a Kitchen Aid Mixer fitted with a dough hook, I began combining the sponges with additional flour, as well as a little bit of egg and butter to add some richness to the bread. I then left each dough in the mixer for 5-6 minutes to create a smooth, elastic dough with some nicely developed gluten. In making each dough I noticed subtle differences between them. The yeast dough was the easiest to combine and didn’t need much flour to create a stable, non-sticky dough. Both the Rye and the Fruit/Yogurt doughs were similarly wet and needed extra flour to combine properly and were still a little bit sticky when I left them to proof.
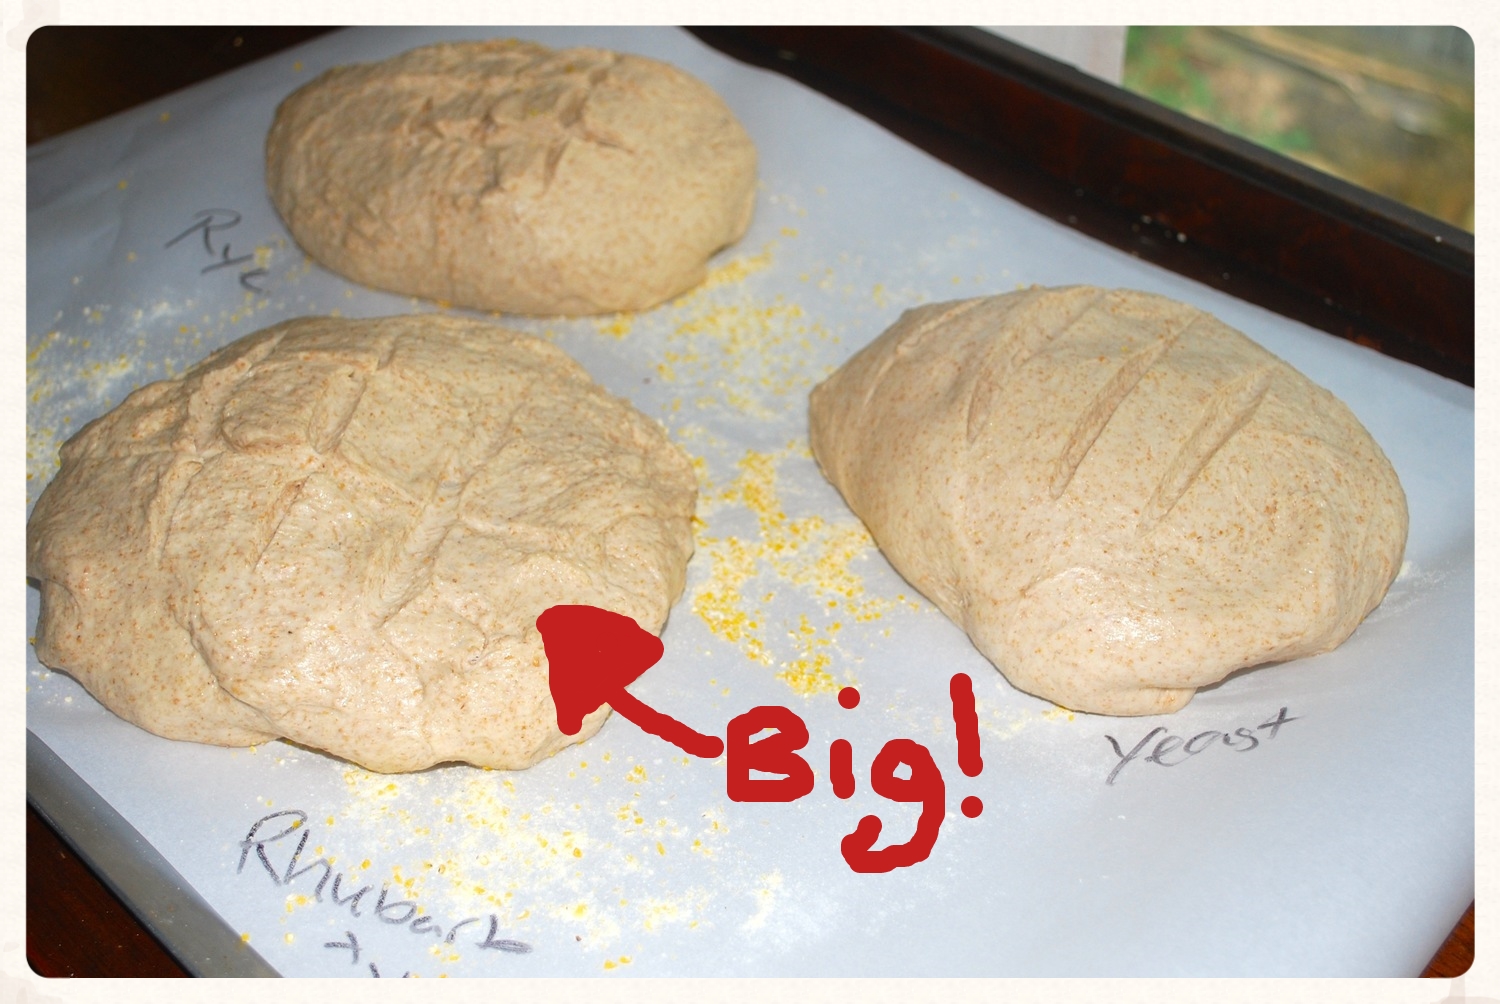
The First Proof
I left each dough to proof for a while until they doubled in size. It took about 3.5 hours, which is quite natural because starter yeast (even a starter using commercial yeast) takes a longer time to develop than yeast straight out of the envelope. After the proof, I noticed that the Fruit/Yogurt dough was the biggest, followed by the Rye Dough and finally the Yeast Dough, which was quite a bit smaller. At first I thought this might have been the result of the extra flour I had to add to the Rye and Fruit/Yogurt doughs. Though that was maybe ½ cup at the most, so I think it is more likely to be the result of effectiveness of those two starters.
The Second Proof
Look at the Fruit & Yogurt one! So much bigger and it's not just perspective.
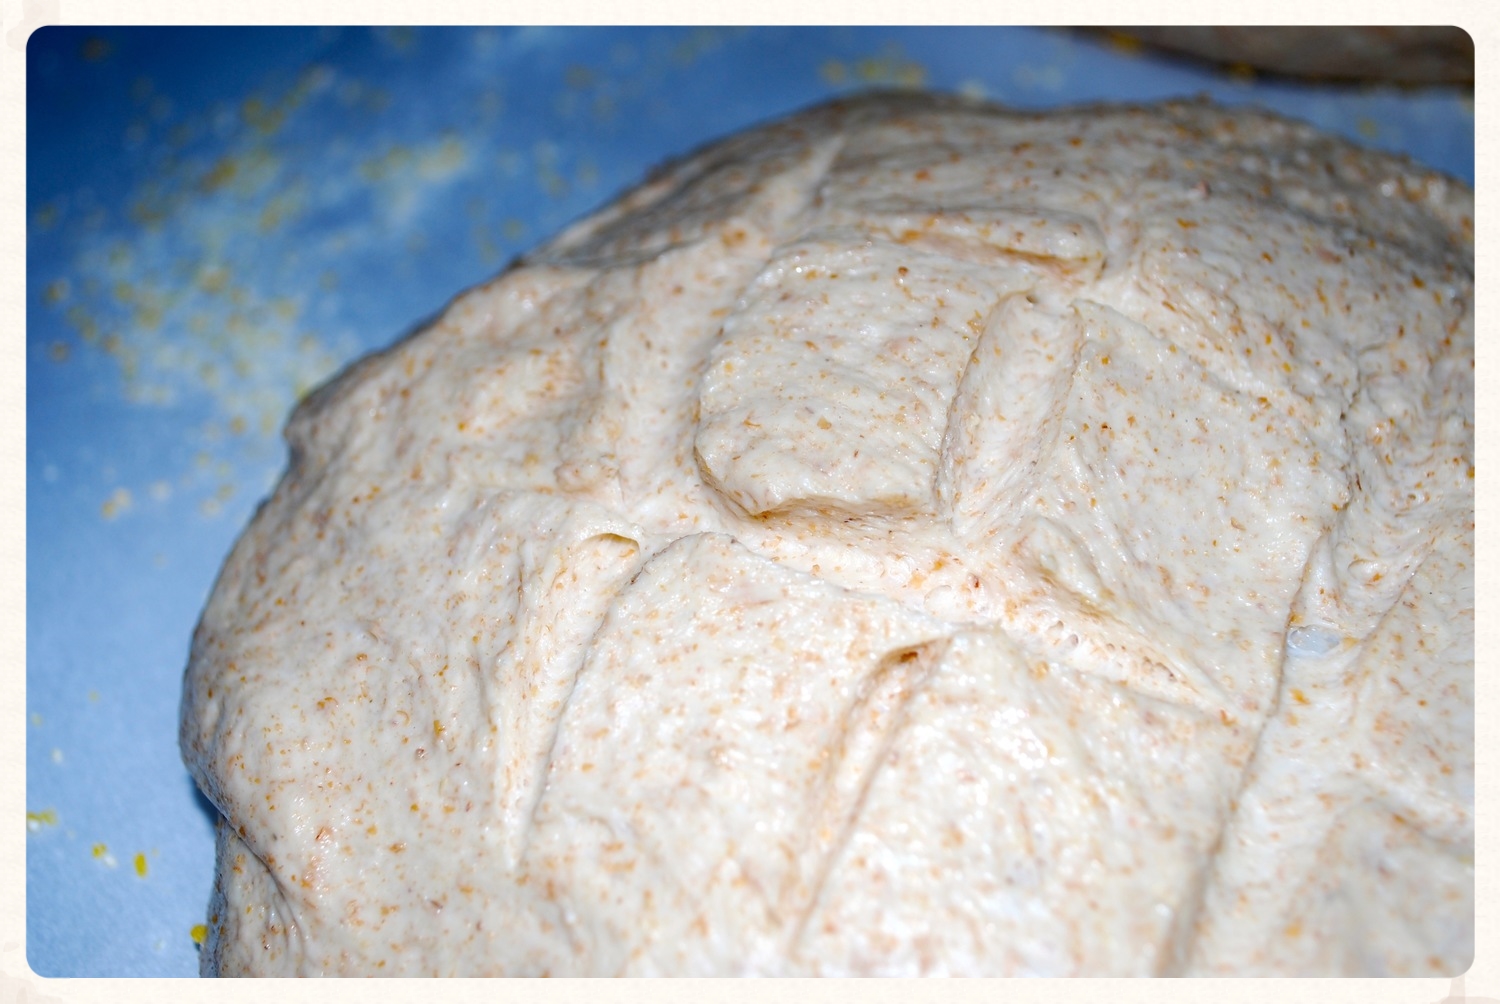
Fruit & Yogurt undergoing its second proof.
I shaped the dough into boules and put them on a cookie sheet lined with parchment paper and cornmeal. I noticed that the yeast dough was still easier to shape and less sticky than the other two, which were a bit difficult to deal with. I left the boules to proof for a second time for about 2 hours. They rose a bit during this time, but didn’t double in size or anything like that.
Into the Oven
After a quick egg wash, it was time for the oven for these beauts. I baked then in a pre-heated 400°F oven for about 50 minutes until they were crusty, golden brown like this.

My mouth is salivating just writing this post.
As you can see the Fruit and Yogurt one came out looking amazing and was the perfect size. Sadly the Yeast one was little bit sad and small, and I was actually very surprised about that since I thought commercial yeast would be robust. The Rye one came out somewhere in the middle of those two.
Taste Test
So far in the preparation & baking processes and sheer interestingness of the recipe I was on Team Fruit &Yogurt. But it all came down to the TASTE. Would this weird recipe taste weird too?

They all puffed up so much in the oven. (F&Y on the left, rye in the middle, yeast on the right)
The answer is no. All the breads pretty much tasted the same. And sadly none lived up to the sourness of SF Sourdough. They were mildly sour and kind of wheat-y due to the whole wheat flour I used (hey we need to be a little healthy here…) Not a fall because they tasted pretty good and my family seemed to enjoy them because that’s the only bread we’ve had in the house for the past week and half.
The Verdict
I’m squarely on #TeamFruit&Yogurt because the starter made the most successful dough in my opinion. The resulting loaf was large sturdy and tasty. My recipe describing the preparation of this starter as well as how to make the bread can be found here.

Is there anything better than warm bread straight from the oven?
I think I can improve the end result, but I could only bake so much bread at one time. When we do run low on bread I’m going to continue experimenting and will share more insights.
If you made it this far through another long, long, post, I am proud of you. Thanks for visiting my blog and this post! Leave your questions, thoughts, suggestions, and funny stories about your own baking adventures in the comments section below.
Until the next blog….stay awesome.


