
I made this! An adorable and glittery box that's going to sit on my dresser and hold my most precious trinkets. (Probably my SD cards...) Actually I made two of these, but one of them was a bit of a fail-- until metallic paint came to save the day. Anyway, it's a pretty easy and affordable project with a grand total of less than $20 for all the materials. And the cost to make each box is substantially less because the glitter, glue, Mod Podge, paint go a long way and each wooden box is only $1. Pretty good, eh?
Watch the video for all the details and scroll down for some additional pictures and general step-by-step instructions.
Materials and Equipment Needed:
- Little boxes-- you can use wooden boxes (craft store) or reuse jewelry boxes or gift boxes as long as they are sturdy.
- Plastic animals-- I found mine in the toy section of the craft store. You can buy them individually or they also come more cheaply in plastic tubes of about a dozen animals. It just depends on which animals you want.
- White acrylic paint or a color that matches your glitter
- Mod Podge-- I used the glossy finish
- 2 paint or foam brushes
- A small container
- Glitter
- Glue sticks
- Glue gun

Instructions
- Paint the box and animal a color that matches the glitter you will be using. Make sure that they are opaque (2-3 coats).
- After the paint has dries 30-60 mins, apply the Mod Podge to each item. Then cover in glitter. I recommend working on each separately, so that the Mod Podge doesn't start to dry. TIP: You can glue the animals to the boxes before you do the Mod Podge, I just think it is a little bit easier to reach all the crevices on the animals if you wait until you have glittered everything.
- Once everything is covered in glitter and dry enough to handle, glue the bottom of the animal to the top of the box.
- Cover with a final coat of Mod Podge or your choice of acrylic sealer. Let it dry completely and then put it in a place of honor!

The failure box.
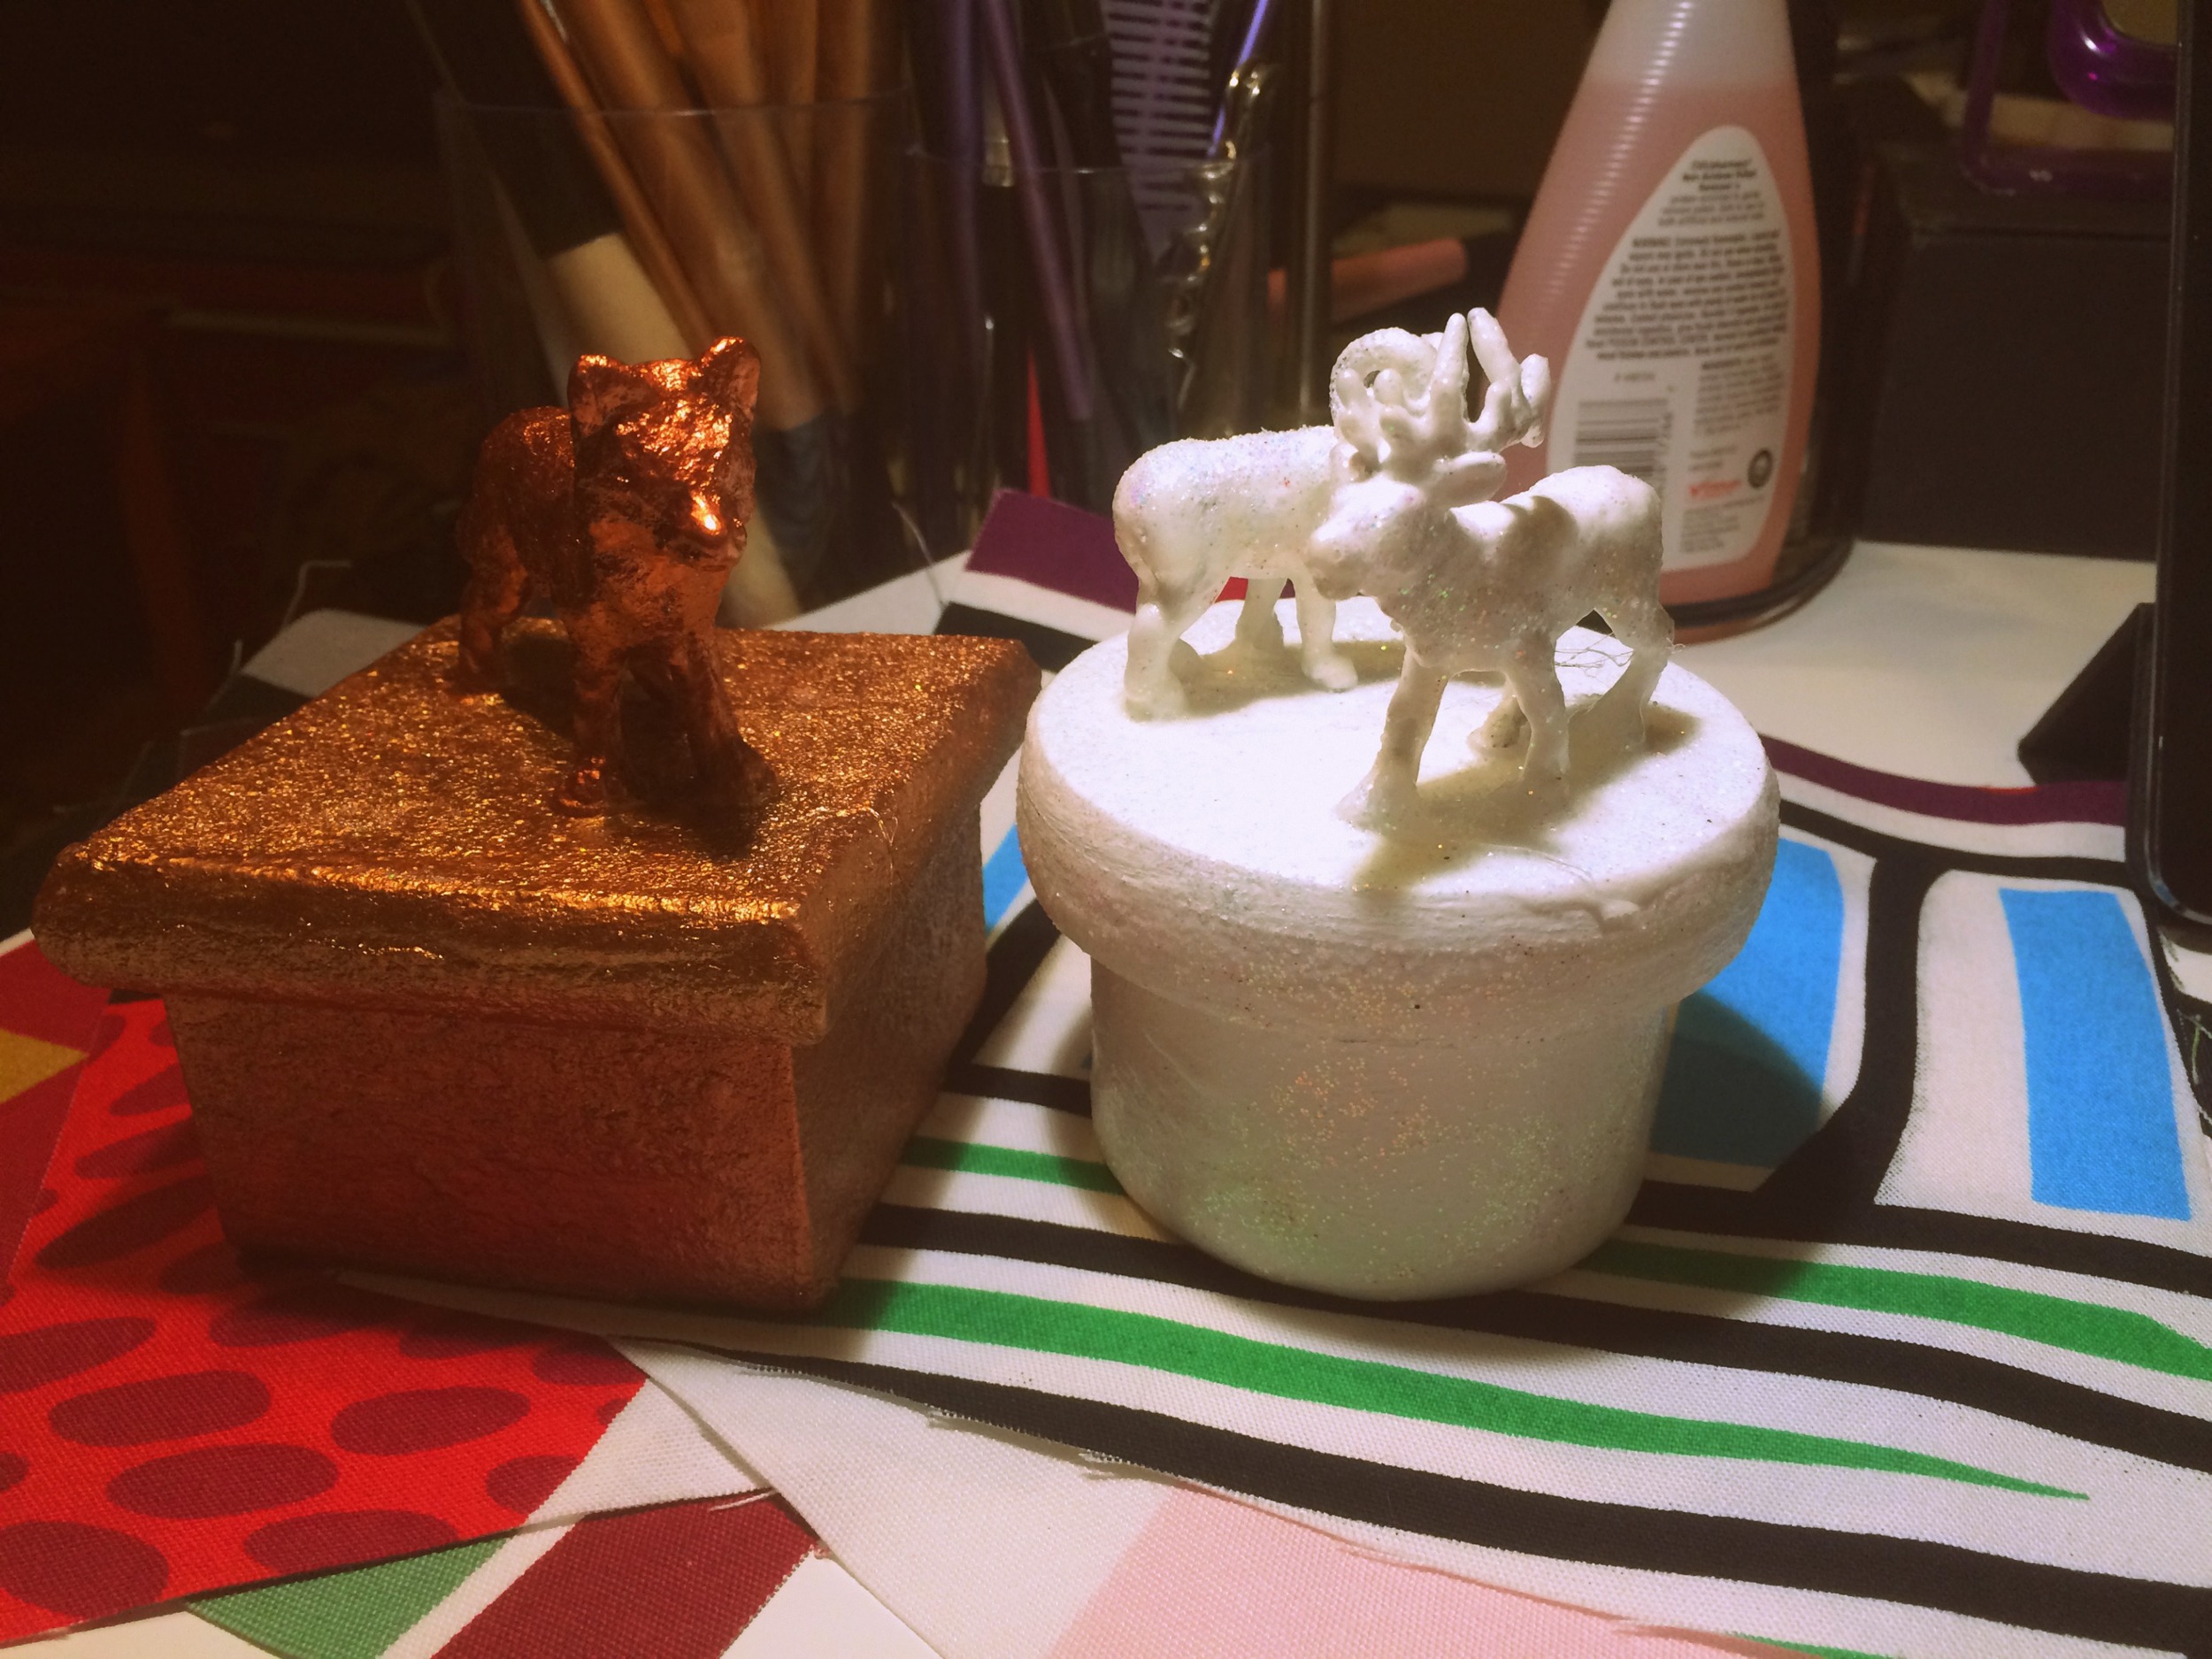
The final products. The Left one was the fail box that I saved by covering it with metallic paint.
If you liked this video and post, make sure you follow me on all the social mediaz to stay up-to-date! LINKS BELOW!!!


